
Dishwasher Not Draining? | Full Guide (2026)

You open the dishwasher expecting clean dishes and find two inches of gray water sitting in the bottom instead. Your stomach drops a little. Is this a five-minute fix or a $300 repair?
Here's the thing most people don't realize when their dishwasher is not draining: it's usually a clog, not a broken part. Maytag itself frames it this way, noting that clogs or obstructions are the most common cause of drainage failure. That means the fix is often cheaper and faster than you're bracing for.
This guide walks through the causes in the order you should actually check them, starting with safety, moving through the quick wins, and ending with the stuff that genuinely needs a technician. Skip ahead if you already know your symptom.
Before You Touch Anything: Safety First
Two things before you get your hands anywhere near the pump housing. Unplug the dishwasher or flip the breaker, and if you're disconnecting the drain hose, shut off the water supply valve first.
Wet hands plus an appliance with live electronics is not a combination worth rushing into. Give yourself the thirty extra seconds. It matters more than it sounds like it does when you're standing in a puddle trying to fix dinner cleanup.
Step 1: Get Rid of the Standing Water
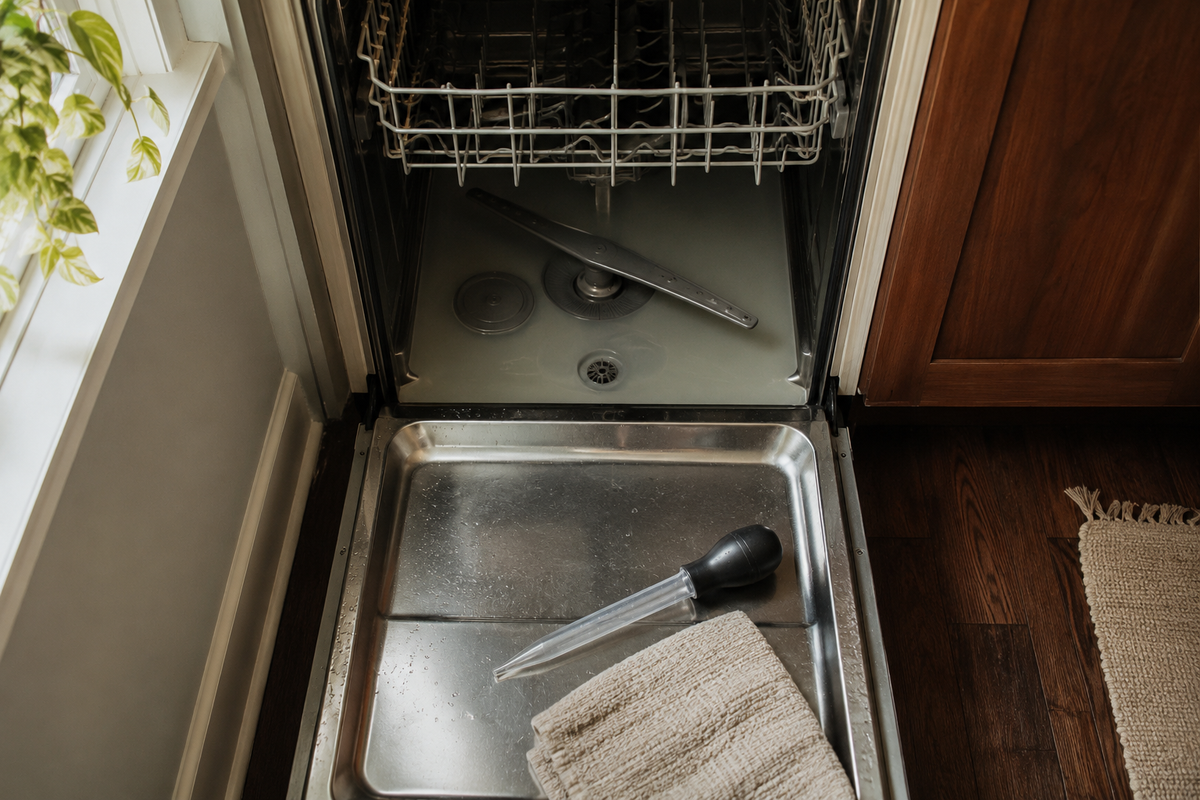
You can't diagnose anything with two inches of water sloshing around. Bail it out with towels, a cup, or (better) a wet-dry vac. Don't grab your regular household vacuum unless it has a wet setting; that's a fast way to fry a motor or shock yourself.
One trick that isn't in most guides: once you're down to that last stubborn half-inch, a turkey baster clears it out faster than towels ever will. Squeeze, dump, repeat. Takes two minutes.
How much water is actually a problem? Bob Vila's guidance is that a little water at the bottom of the tub after a cycle is normal, but more than a cup, or a fully flooded tub, means something's genuinely wrong.
Step 2: Try the Quick Resets First (2 Minutes, Free)
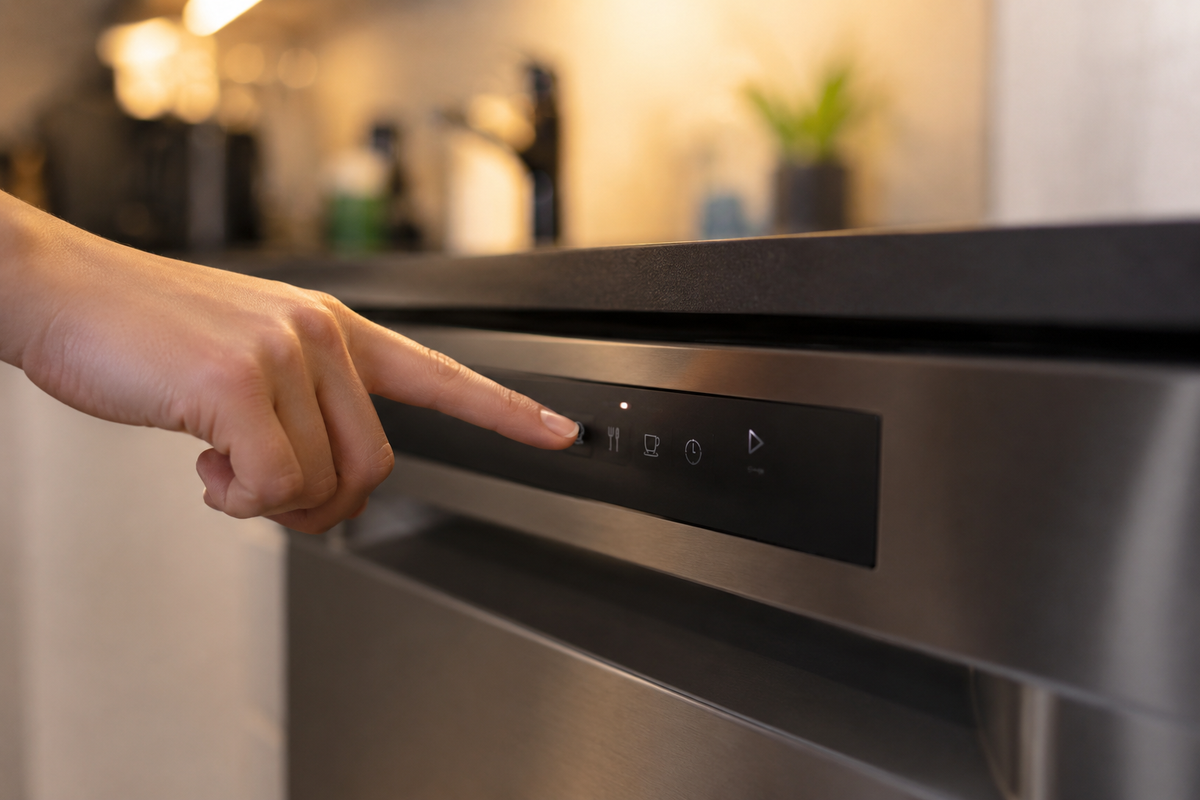
Before you take anything apart, try forcing a drain cycle. Depending on your model, holding the Cancel, Cancel/Drain, Start/Drain, or Reset button for about three seconds can force the machine to drain. Check your owner's manual for which button applies to your model, since it varies by brand.
If the cycle got interrupted partway through, the machine simply never got the chance to drain. Running a full cycle again can solve it before you do anything else.
Honestly? This fixes maybe one case in ten. Worth trying because it costs nothing, but don't get your hopes up.
Step 3: Clean the Filter (The Fix That Solves It Most of the Time)
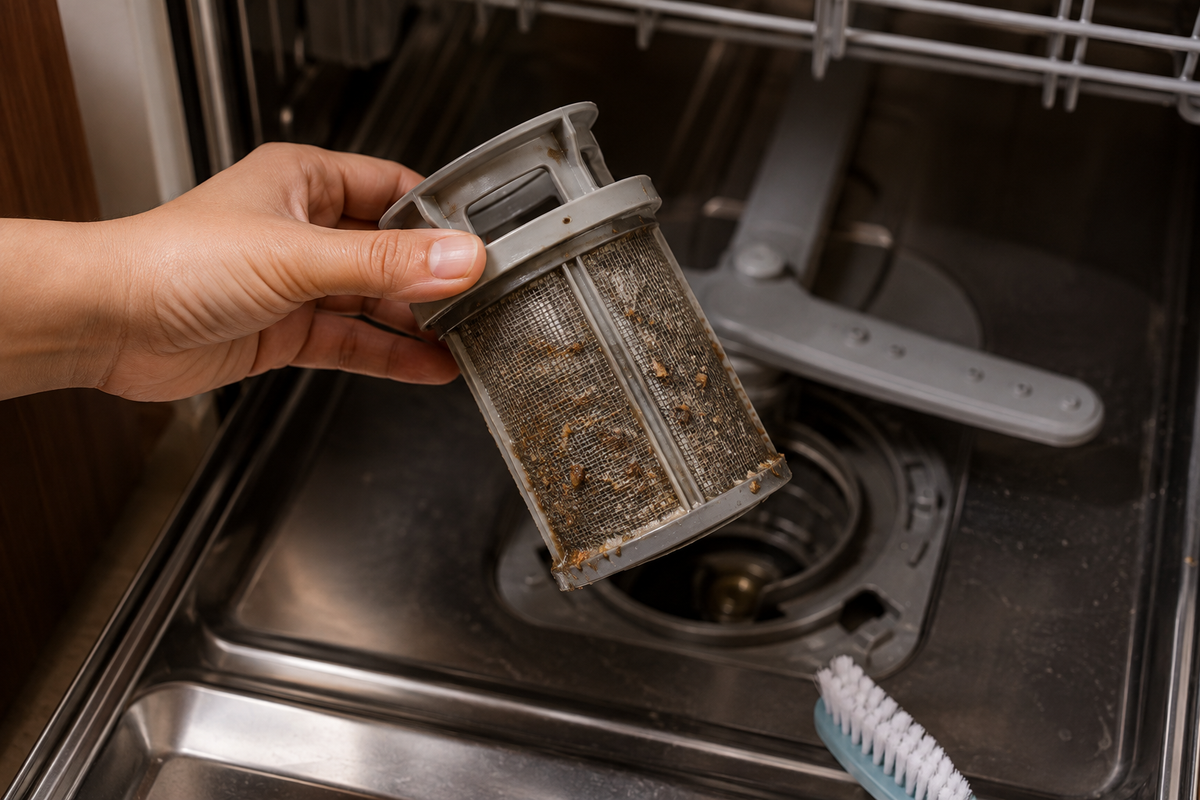
This is the one. Most dishwashers built since around 2015 have a removable filter at the bottom of the tub, usually a twist-lock cylinder you can pull out by hand. Older or different-brand models vary, so check your manual if you can't find it.
Pull it out and look at what's stuck to it. Food film, a wad of soggy label glue, sometimes a shard of broken glass. It's not pretty. Whirlpool's own maintenance guidance points out that broken glass specifically can leave small debris that clogs the drain pump outlet, which is worse than food buildup because it's harder to spot.
How often should you actually do this? If your household doesn't pre-rinse dishes before loading, clean it monthly. If you do pre-rinse, every two to three months is fine. Nobody else gives you a real cadence for this, but it's the difference between a five-minute wipe-down and a full flood emergency down the road.
Step 4: Check the Garbage Disposal Connection
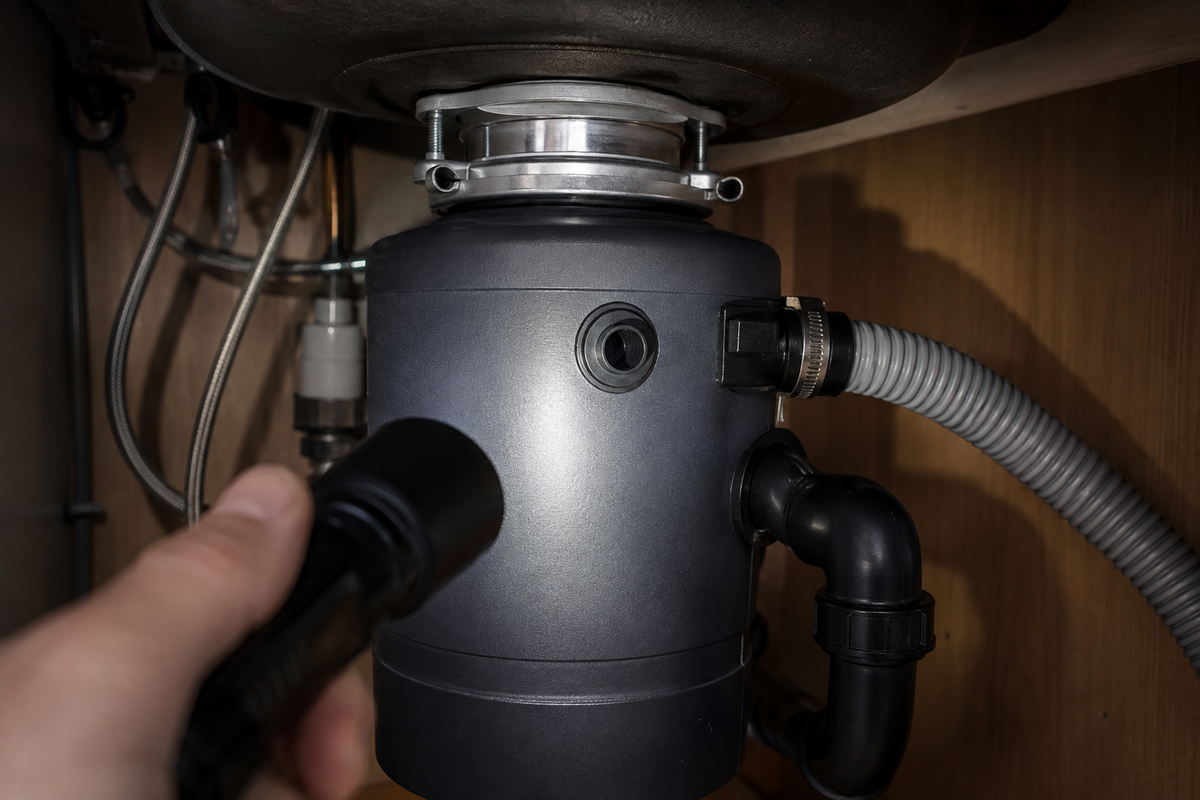
If your dishwasher drains through your garbage disposal, run the disposal with cold water for about 30 seconds. That clears food debris sitting at the connection point that's blocking flow.
Here's the one almost nobody mentions, and it's the biggest miss for brand-new installs: the knockout plug. If your dishwasher or disposal was installed recently, check whether the knockout plug inside the disposal's dishwasher inlet was actually removed during installation. Installers skip it more often than you'd think, and a plug left in place blocks drainage completely, no matter what else you fix.
Step 5: Inspect the Air Gap (If Your Sink Has One)
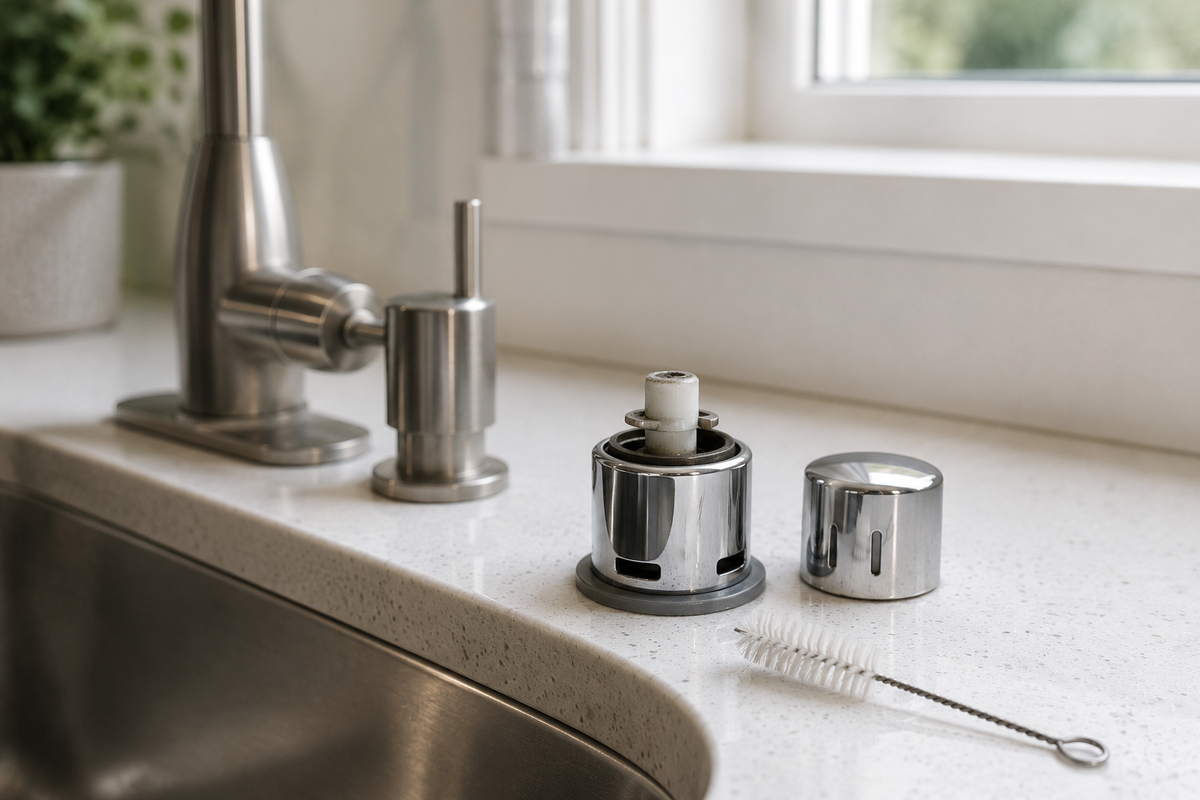
The air gap is that small chrome cylinder near your faucet, separate from the faucet itself. Not every sink has one; it's required by code in some states and municipalities but not others, and setups using a garbage-disposal loop instead don't always need it.
If yours has one, pop the cap off and look inside. A small brush clears out any gunk sitting in there and can restore drainage on its own.
Step 6: Check the Drain Hose for Kinks or Clogs
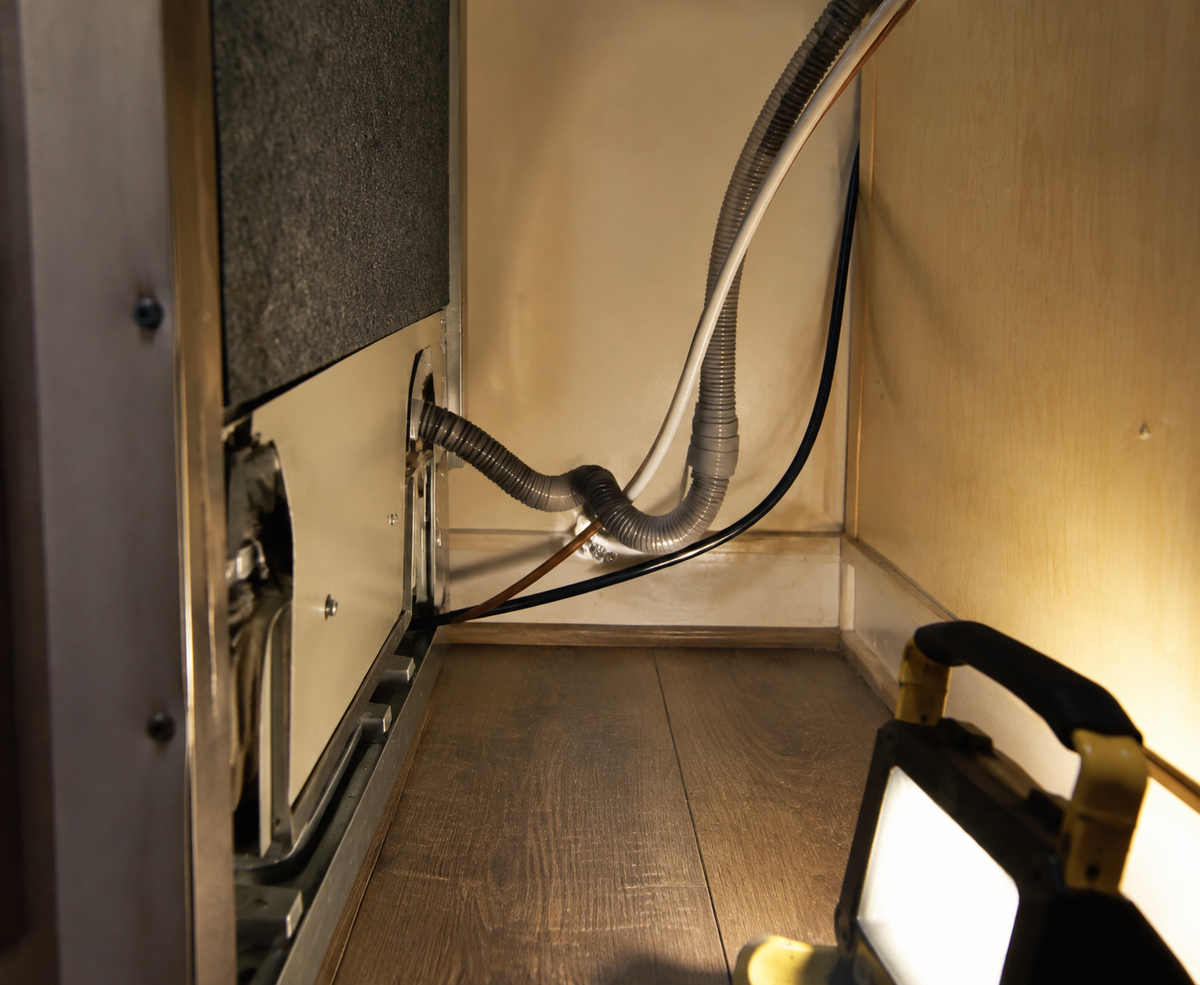
The drain hose runs from the dishwasher, usually behind the machine or under the sink, and is sometimes looped up near the counter to prevent backflow from the sink into the dishwasher. Cabinet installation can pinch it, or it can develop an actual kink over time.
Sears Home Services lists a cracked or blocked drain hose alongside a failed pump or motor assembly as common no-drain causes. Disconnect the hose, flush it out, and check along its whole length for a pinch point, not just the visible section behind the machine.
The Cause Nobody Explains Well: Detergent and Suds
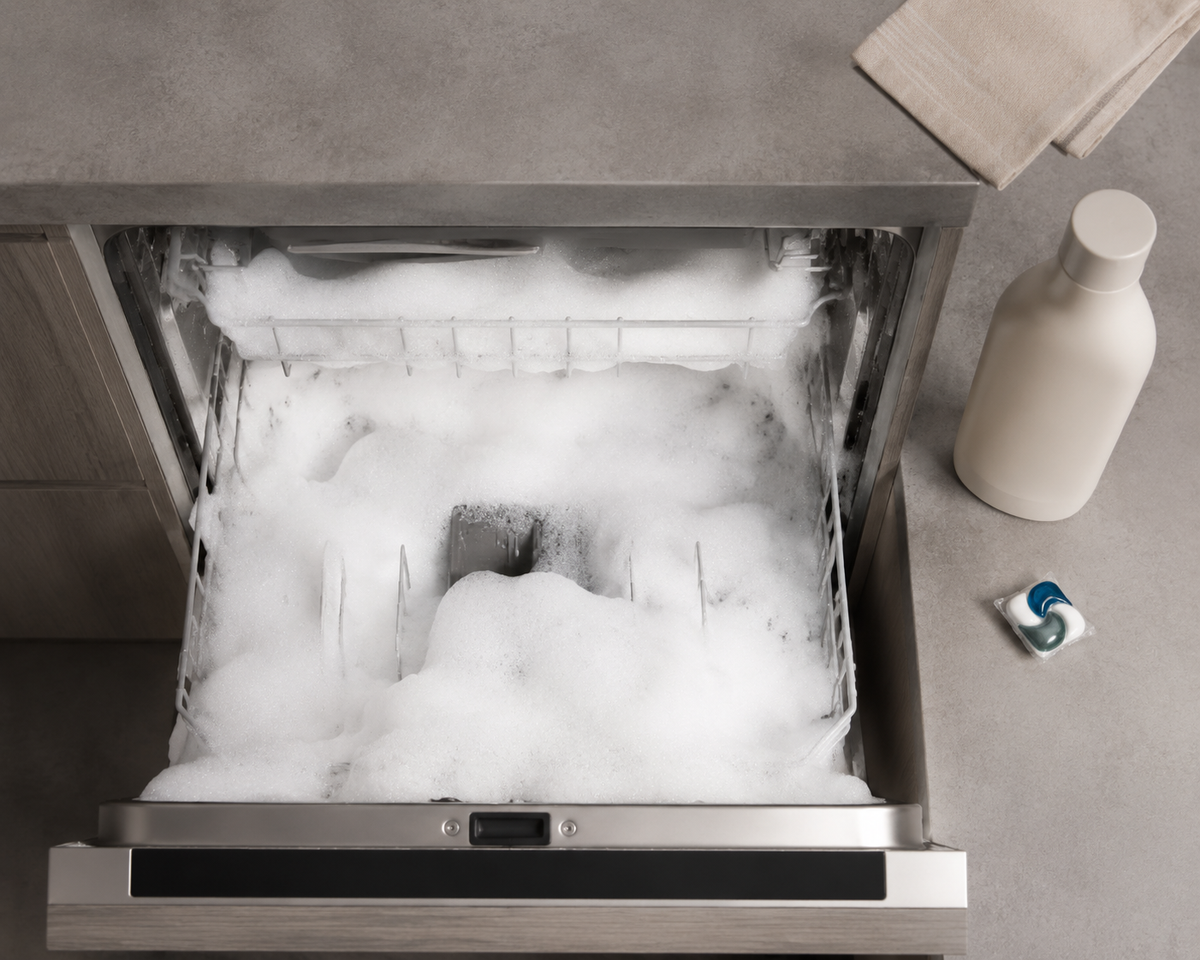
This is genuinely under explained everywhere else. Certain detergents, especially generic gel formulas or (in a pinch) regular dish soap, produce excess suds. Some machines' float switches or turbidity sensors read that foam as "still dirty" and won't let the cycle complete its drain.
If you suspect this, run a rinse-only cycle to knock the foam down, wipe out visible suds by hand, and switch detergent brands going forward. It's a quiet, unglamorous cause, but it explains a lot of "my dishwasher was working fine and now it just won't drain" situations that don't fit any mechanical explanation.
If None of That Worked: It's Probably the Drain Pump or Solenoid
Symptoms to listen for: humming with no water movement, clicking with no drainage, or dead silence when the machine should be draining.
Unplug the unit first. Access to the pump area varies a lot by model, so this isn't a full teardown guide, but shine a flashlight in and look for a visibly stuck impeller.
If you own a multimeter, you can test the solenoid for continuity. Set the dial to continuity or ohms, touch the probes to the solenoid terminals, and listen or watch for a beep or a zero reading. A working solenoid gives you that beep almost instantly; dead silence and no reading on the display tells you it's failed. This confirms whether the part is actually bad before you buy a replacement.
Parts and labor costs shift, so check current pricing at a retailer like RepairClinic or PartSelect before committing to a repair.
Preventing This From Happening Again
Wipe the filter monthly if you don't pre-rinse. Run a vinegar or citric-acid rinse cycle every three months to keep buildup from settling into the pump. Scrape dishes rather than fully pre-rinsing them; a little food debris actually helps some newer machines' sensors calibrate correctly, so scraping instead of scrubbing is the better habit. Check the air gap twice a year if you have one.
Following Sears' general maintenance framing, keeping these components clean on a schedule prevents most of the common causes covered above before they turn into standing water on a Tuesday night.