Oven Not Heating to the Right Temperature? Causes & Fixes

You pull the chicken out at the time the recipe promised it'd be done, and it's still pink near the bone. Or the cake comes out burnt at the edges and raw in the middle, even though you followed the instructions to the letter. Sound familiar?
Here's the thing: an oven not heating to the right temperature is almost never random bad luck. It's one of a short, findable list of causes, and most of them are testable in under 20 minutes with a $10 thermometer. By the end of this page, you'll know the likely cause, how to confirm it, and roughly what it costs to fix, before anyone tries to sell you a service call.
One thing worth clearing up first, because it explains why so many guides mention a "normal" temperature swing without ever saying why. Manufacturers actually build tolerance into ovens by design. Whirlpool's own product help notes that an oven can cook faster or slower than a previous unit and still be working exactly as intended, and that temperature calibration exists as a deliberate adjustment feature, not a repair for a defect. That single fact changes how you should read every temperature test you run.
First, Confirm the Problem: Run a Proper Thermometer Test
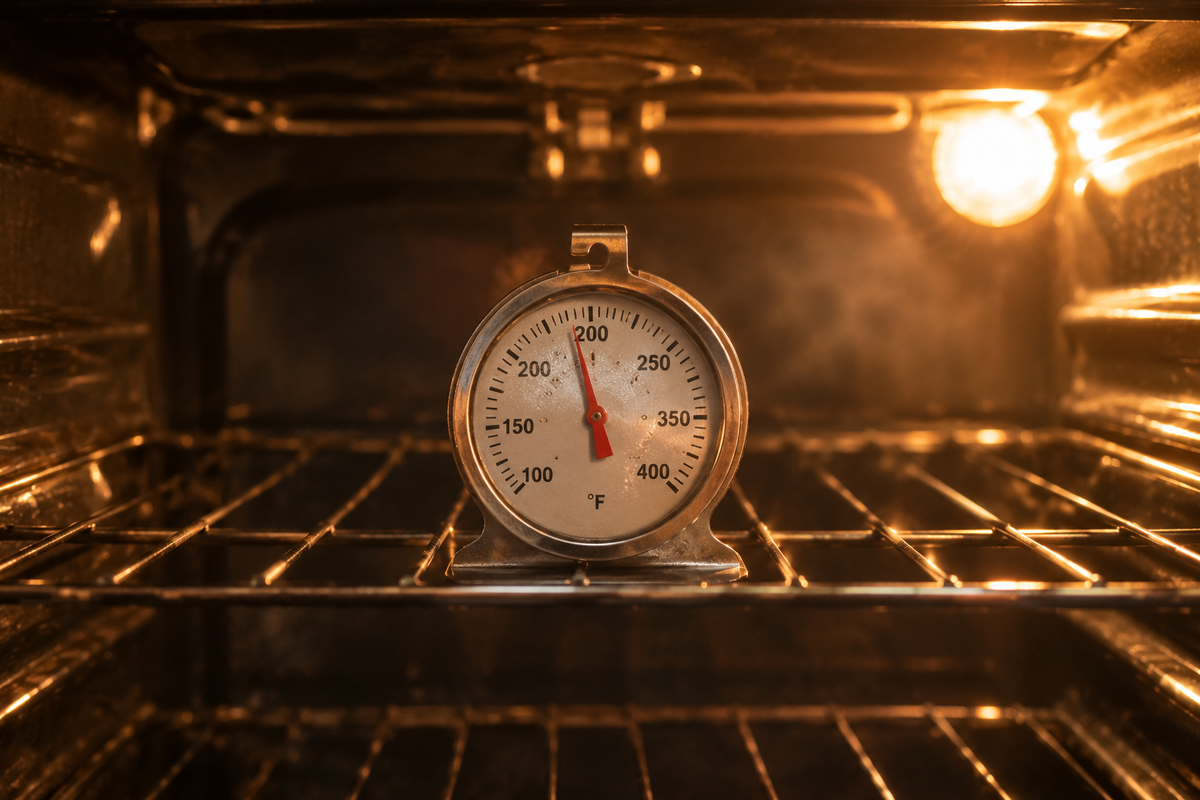
Most articles on this topic tell you to "use an oven thermometer" and leave it there. That's not enough. A badly run test gives you a false result, and a false result sends you chasing the wrong fix, maybe even paying to replace a part that was fine all along.
What Thermometer to Use (and Why the Display Lies)
Skip trusting the oven's own digital readout as your only data point. That display isn't measuring the air around your food; it's just reporting what the sensor tells it. If the sensor's reading is off, the display will confidently report a wrong number right along with it. An independent oven thermometer, the cheap analog kind or a digital probe, gives you a second opinion the oven can't fake.
How to Run the Test Without Contaminating the Result
- Place the thermometer on the center rack, not touching the oven walls or the rack itself.
- Keep the door fully closed during preheat. Don't peek.
- Wait for the actual full preheat, not just the beep. Give it a few extra minutes past the "ready" tone.
- Test at more than one temperature. Bob Vila's guide recommends checking 300°F, 350°F, 400°F, and 450°F.
Why bother with four temperatures instead of one? Because a sensor can be dead accurate at 350°F and noticeably off at 450°F. Most competing guides test once, at one setting, and call it done. That's exactly the kind of test that misses a developing sensor failure until it's worse and more expensive to fix.
Reading Your Results: What the Pattern Tells You
- Consistent offset at every temperature (say, always 15°F low) usually points to a calibration issue. Cheap, often DIY-fixable.
- Offset that grows at higher temperatures points more toward a sensor or heating element problem.
- Erratic, inconsistent readings, or an oven that cycles on and off unpredictably usually means the thermostat or control board is involved.
That distinction, consistent offset versus inconsistent, is the single most useful diagnostic clue in this entire process, and it's rarely spelled out this plainly elsewhere.
The Real Causes, Broken Down by What Actually Fails
Most articles blend gas and electric causes into one long list. That's not especially helpful if you own one and not the other, so here's the split.
Electric Oven Causes
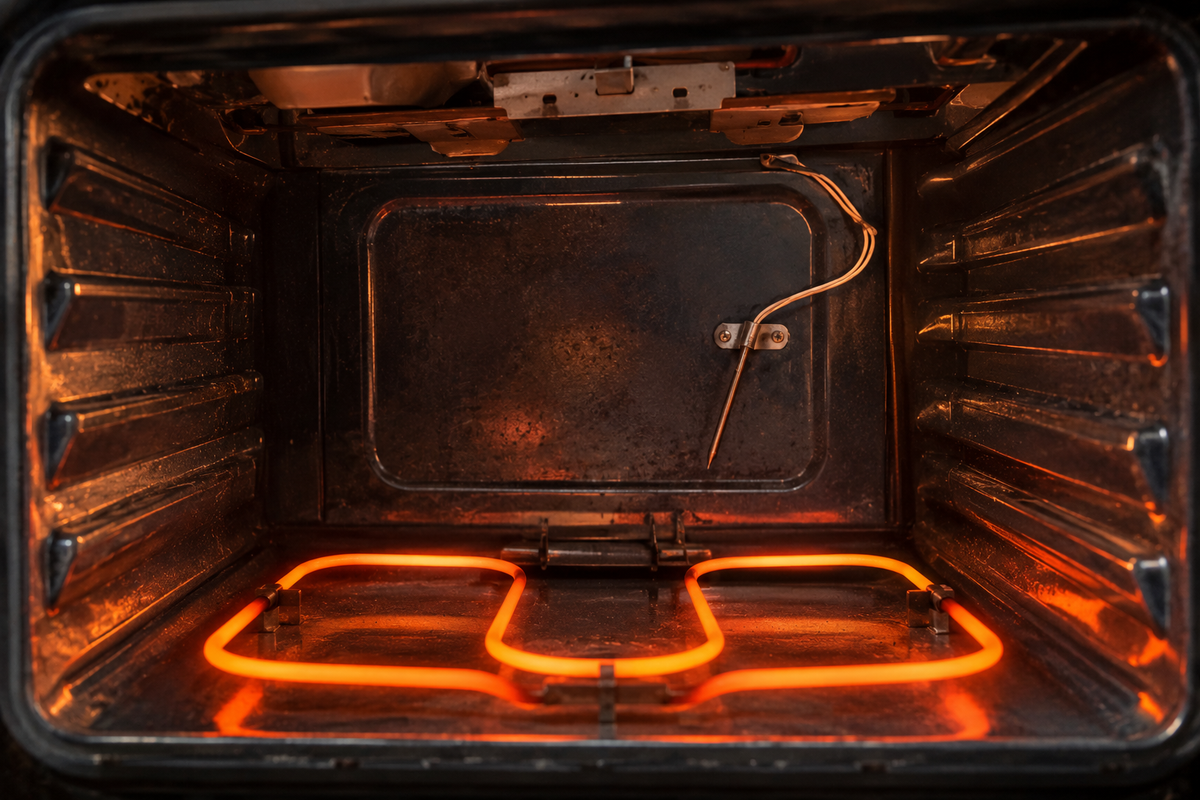
Electric ranges rely on two heating elements, a bake element on the bottom of the cavity and a broil element up top, and a fault in either one can keep the oven from reaching its set temperature.
The temperature sensor is a thin probe, usually mounted in the back of the cavity, and problems with it (or with calibration generally) are a common reason ovens undershoot or overshoot their target. One detail worth checking yourself: the sensor shouldn't be touching the oven wall. If it is, that contact throws off the accuracy of the reading.
The sensor talks to the control board, which is what actually fires the bake element. If that communication breaks down or gets garbled, the oven can misread its own temperature entirely.
Gas Oven Causes
A weak igniter is the classic gas-oven culprit. If the igniter glows but the burner still hasn't lit within 90 seconds, or if it doesn't glow at all, it's likely too weak to open the gas safety valve. That's a specific, timeable check you can actually run yourself, rather than the vague "check the igniter" advice most guides offer.
Gas supply or valve issues can also be at play. And the selector switch, the control that toggles between bake and broil, works alongside the thermostat to manage temperature; if either one burns out, temperature problems follow.
A note on safety: if the igniter is glowing but the gas still isn't catching, stop. Don't keep testing it yourself. Call a gas-safe technician to inspect the valve and safety systems. This isn't the place to improvise.
Causes That Hit Both Fuel Types
A worn door seal lets heat escape, so the oven either runs longer to compensate or never quite reaches its set point. A surprisingly common and dumb-simple cause: the unit is set to Fahrenheit in a household or region that reads in Celsius, so it's heating exactly to the number shown, just the wrong number. And plain age-related drift happens too, whether from a failing element, a weakening igniter, or a sensor slowly losing accuracy.
Here's a real-world pattern worth knowing: a 12-year-old electric range that ran 40°F cool at 350°F but only 15°F cool at 450°F. That's not a flat, consistent offset, which is what you'd expect from simple calibration drift. It's a widening gap as temperature climbs, and that shape points toward a sensor nearing failure rather than a quick calibration fix.
How to Fix It Yourself, Step by Step
Calibrating an Electric Oven
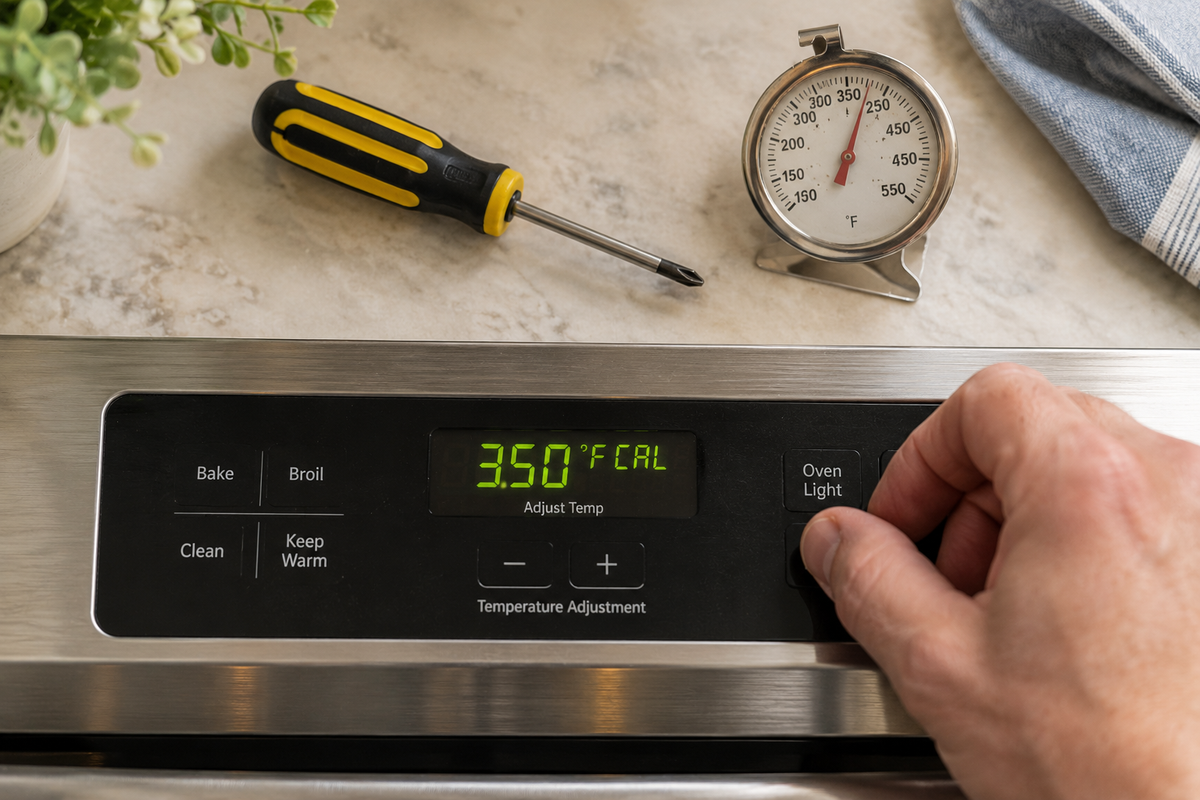
On Whirlpool electric ranges, you can typically nudge the temperature in 5°F or 10°F increments, up to 30-35°F in either direction, right from the control panel's calibration setting. Whirlpool notes all you need is an accurate oven thermometer, and for analog controls, a Phillips head screwdriver.
Button sequences vary by brand, so check your model's manual. As one example, some GE ranges let you press BAKE once to raise the temperature and twice to lower it, adjustable up to 35°F in either direction, and the setting sticks in memory even after a power outage.
Repositioning or Replacing a Temperature Sensor
If your thermometer test showed a growing offset at higher heat, check first whether the sensor is touching the cavity wall. Sometimes it just needs to be bent gently back into place. If it's visibly damaged or the offset is severe, replacement is usually the next step.
Cleaning or Checking the Door Gasket
Inspect the gasket for tears, flattening, or gaps where it meets the door frame. A worn gasket is a cheap fix and an easy one to overlook.
When Not to DIY
Element replacement and anything involving the gas line fall outside "weekend project" territory for most people. This ties directly back to the safety point above: gas ignition issues need a professional, full stop.
What It Costs to Fix (By Cause, Not Just a Vague Range)
Every competing article throws out a $100 to $600 range and leaves you guessing where you'll land. Here's the number attached to the actual cause:
- Simple calibration: $0. Just your time and a thermometer.
- Sensor replacement: roughly $150 to $350 for the part and installation.
- Igniter replacement: typically $150 to $325.
- Full professional diagnosis and labor: technicians generally charge $50 to $200 an hour, with electric oven repairs averaging $100 to $250 and gas oven repairs running $100 to $600 depending on what parts are needed.
As for whether to repair or replace altogether, that call usually comes down to the age of the unit and how the repair cost stacks up against a new one, especially on a range past the 15-year mark.
Newer Oven Types: What Changes for Convection, Air Fry, and Smart Ovens
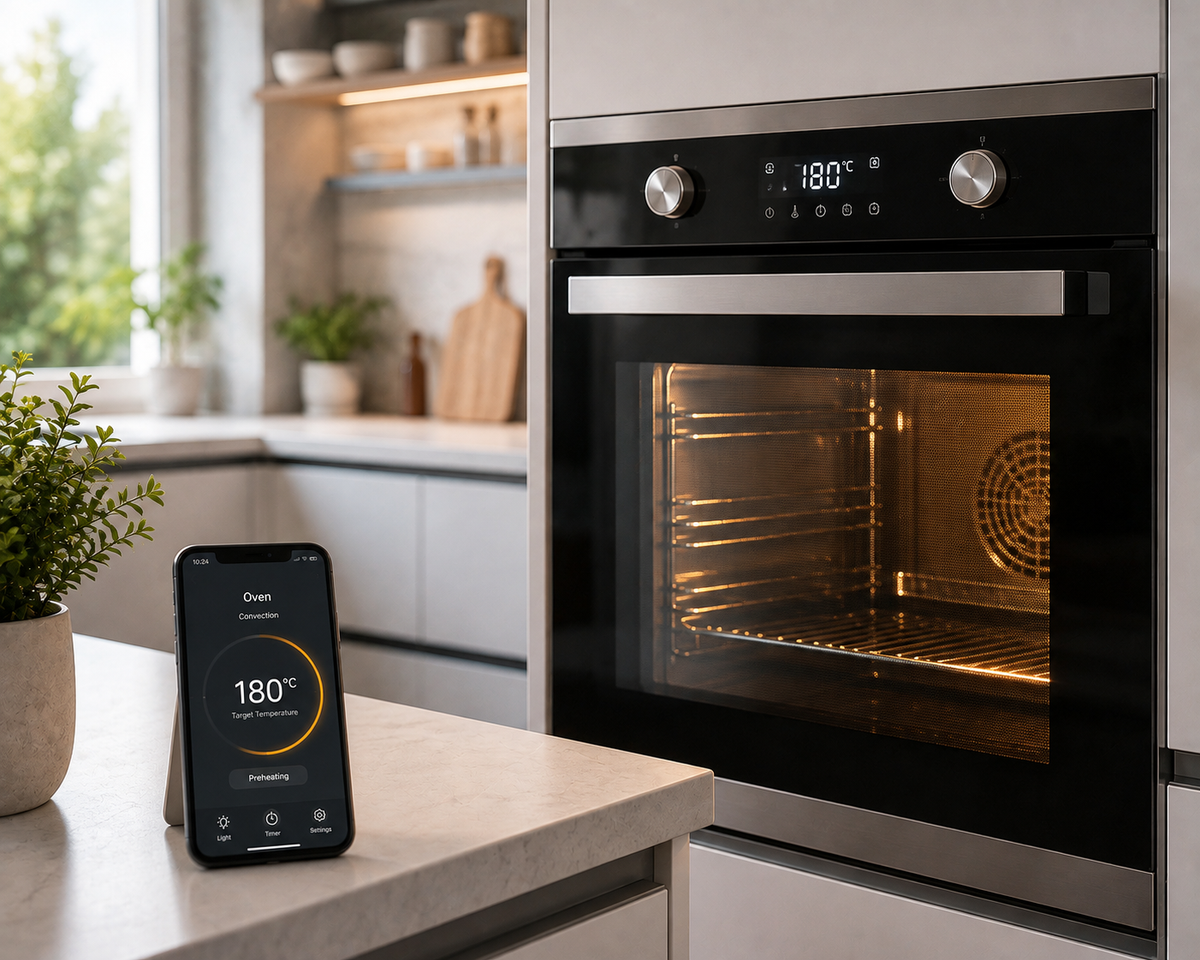
This part barely gets a mention anywhere else, which is odd given how many kitchens now have one of these.
Convection ovens rely on a fan to circulate hot air, and a failing fan can produce symptoms that look exactly like a heating problem even when the elements and sensor are fine.
Smart or connected ovens sometimes let you nudge the temperature offset from a phone app instead of the control panel, which changes the "how to calibrate" steps depending on your specific brand and model.
Air fryer and combi ovens have smaller cavities, so they preheat faster, but that also means sensor drift shows up faster and more obviously than it would in a full-size oven.
When to Call a Professional (and What to Ask Them)
Call in a pro if you're dealing with visible element damage, an igniter that fails the 90-second timing check, or any gas ignition issue. Before you book anyone, ask three things: is the rate flat or hourly, does the diagnostic fee apply toward the repair if you go ahead with it, and are they certified gas-safe if you're dealing with a gas range.
One more thing before you pick up the phone: check your warranty status. Bob Vila's guidance is clear that you shouldn't attempt repairs requiring element replacement if the oven is still under warranty, since doing so yourself can void it.