
What: A comprehensive troubleshooting guide for refrigerator doors that won’t close, seal, or align properly.
Who: Homeowners experiencing cold air leaks, increased energy bills, or spoiled food due to faulty fridge door closure.
Why: A malfunctioning fridge door can increase energy consumption by 25% and cause food spoilage within 48 hours.
When: Address this issue immediately when you notice gaps, condensation, or warm spots inside your refrigerator.
How: Follow seven diagnostic steps to identify and fix door seal, hinge, alignment, and gasket problems without professional help.
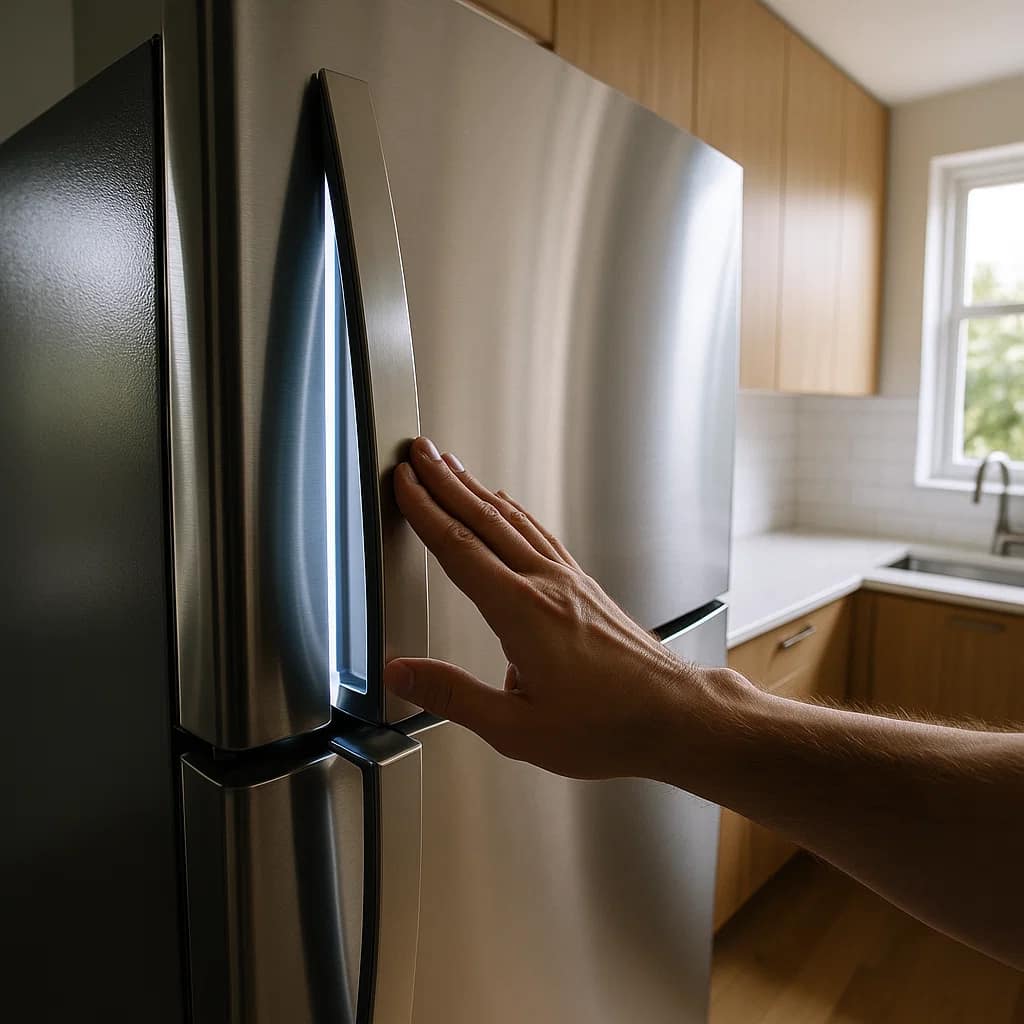
You walk into your kitchen and notice your fridge door slightly ajar—again. The butter’s soft, condensation pools at the bottom, and your energy bill just jumped 30%. A refrigerator door that won’t close properly isn’t just annoying; it’s draining your wallet and risking food safety. According to the U.S. Department of Energy, a faulty fridge seal can waste up to $200 annually in energy costs.
The consequences extend beyond money. Inconsistent temperatures accelerate bacterial growth, turning your fresh produce into a science experiment within days. Your compressor works overtime, shortening its lifespan and pushing you toward a $1,200 replacement years earlier than necessary.
This guide delivers seven field-tested solutions used by appliance technicians to restore perfect door closure. Whether it’s a worn gasket, misaligned hinge, or overloaded shelves, you’ll diagnose the exact problem and fix it in under 30 minutes—no service call required.

Before diving into repairs, confirm the problem exists. Many homeowners mistake normal refrigerator operation for malfunction. Here’s how to conduct a proper diagnostic assessment.
The Dollar Bill Test remains the gold standard for seal evaluation. Close a dollar bill in the door, then try pulling it out. If it slides out effortlessly, your gasket seal has failed. A properly functioning seal creates enough resistance that you feel a slight tug when removing the bill. Test this at six different points around the door perimeter—top, bottom, and both sides.
Visual inspection reveals obvious damage. Look for cracks, tears, or flattened sections in the rubber gasket. Run your hand along the entire seal, feeling for air leaks. A functional gasket should feel slightly tacky and pliable, not hard or brittle.
Temperature fluctuations provide another diagnostic clue. Place a refrigerator thermometer inside and monitor readings over 24 hours. Consistent temperatures between 35-38°F (1.7-3.3°C) indicate proper sealing. Variations exceeding 5 degrees signal air infiltration.
Listen for abnormal sounds. A compressor running continuously or cycling every 10-15 minutes (instead of the normal 30-40 minutes) suggests the door isn’t maintaining proper closure. This constant operation creates a distinctive humming that differs from normal refrigerator background noise.
Check for condensation patterns. Water droplets forming on exterior surfaces near the door edge, frost buildup inside the freezer compartment, or moisture pooling in vegetable crispers all indicate compromised door sealing.
Understanding root causes saves time and prevents misdiagnosis. Here are the seven most common culprits technicians encounter, listed by frequency.
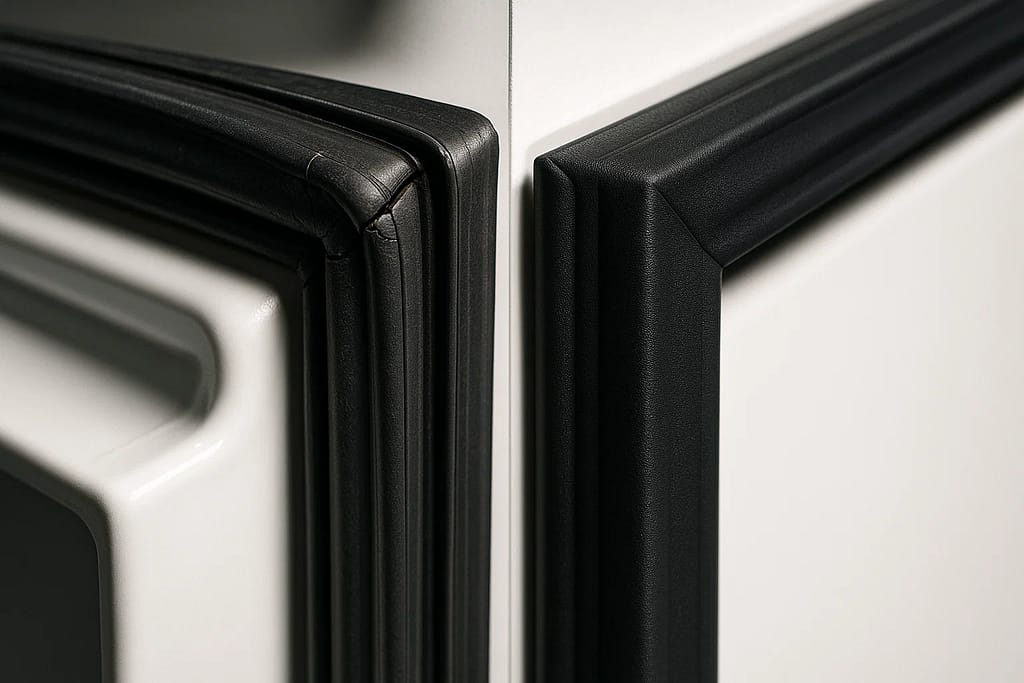
The rubber seal surrounding your refrigerator door deteriorates over time. Daily opening and closing cycles, temperature exposure, and cleaning product chemicals all degrade gasket integrity. Most manufacturers design gaskets to last 5-7 years under normal use, but harsh conditions accelerate wear.
Signs of gasket failure include visible cracks, tears along the corners, or sections that appear flattened and won’t spring back. Food debris trapped in the gasket folds prevents proper sealing even when the rubber remains intact.
Refrigerator doors weigh 30-50 pounds fully loaded. Over months and years, this weight causes hinges to loosen or shift position. Even a 2-millimeter misalignment creates gaps that compromise the entire seal.
Hinge problems manifest as doors that hang lower on one side, create uneven gaps around the perimeter, or require extra force to close completely. You might hear a scraping sound as metal components rub against the cabinet.
Your refrigerator needs a slight backward tilt (approximately 1/4 inch lower in front) for gravity-assisted door closure. Settling foundations, worn leveling legs, or improper initial installation all disrupt this critical angle.
An unlevel fridge creates doors that swing open on their own or require constant pushing to stay closed. This issue often appears after moving appliances or renovating floors.
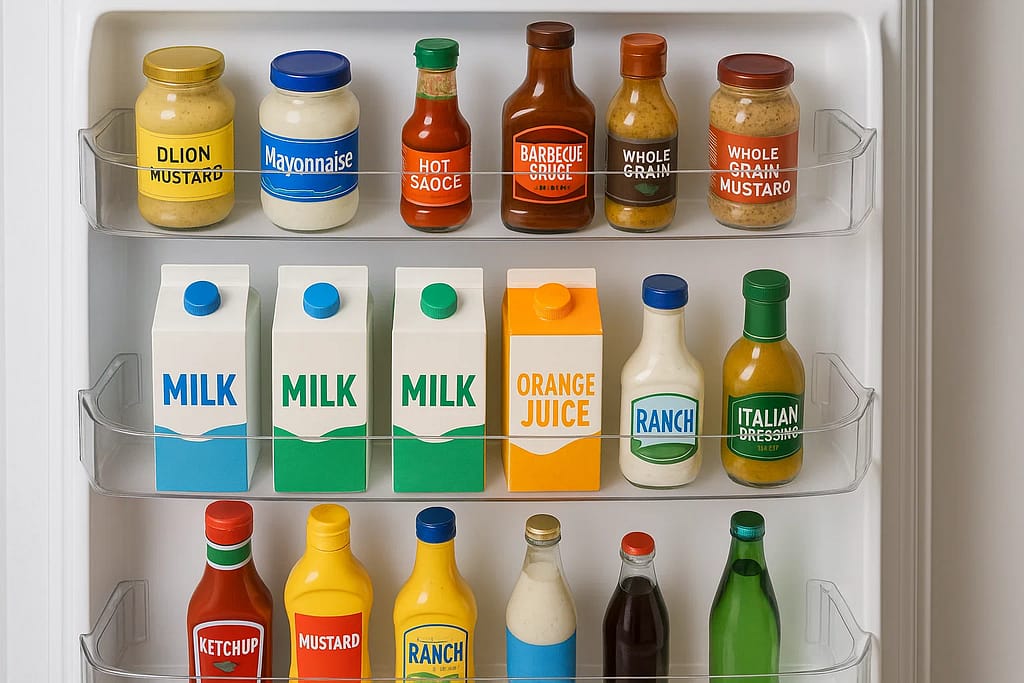
Door bins hold condiments, beverages, and dairy products—but manufacturers specify weight limits for good reason. Exceeding 15-20 pounds per door section stresses hinges and pulls the door away from its sealed position.
Heavy glass bottles, large milk containers, and multiple beverage six-packs create this problem. You’ll notice the door feeling heavier than normal or requiring two hands to close properly.
Plastic and metal components expand and contract with temperature changes. Extreme heat exposure (from nearby ovens or direct sunlight) or manufacturing defects can permanently warp door panels or cabinet frames.
Warping creates irregular gaps that move around the door perimeter. The seal might work perfectly at the top while leaving a 1/4-inch gap at the bottom.
Occasionally, the fridge itself sits too close to the wall, preventing the door from opening to its full 90-degree swing. This limitation keeps doors from achieving proper closure angle and engagement with the gasket.
This problem appears suddenly after rearranging kitchen layouts or adding backsplash tiles that reduce clearance space.
Modern refrigerators include cam mechanisms or magnetic latches that provide the final “pull” to seal doors tightly. These mechanical components wear out or become contaminated with food debris.
Failed latches create doors that close most of the way but don’t achieve that final secure seal. You can push the door closed with your hand, but it won’t stay sealed on its own.
Gasket replacement ranks as the most common repair for door closure issues. This 20-minute fix requires basic tools and costs $50-80 for OEM parts versus $150-250 for professional service.
Never guess at gasket compatibility. Locate your refrigerator’s model number (typically found on a sticker inside the fresh food compartment or on the left sidewall). Use this exact model number when ordering from GE Appliances, Whirlpool Direct, or Samsung Parts. Generic gaskets rarely fit properly and void warranties.
Unplug your refrigerator for safety. Remove all items from door shelves to reduce weight. Clean the door mounting channel thoroughly using warm water mixed with dish soap. Mineral deposits, food residue, and old adhesive all prevent proper gasket seating.
New gaskets arrive stiff from packaging and storage. Submerge the entire gasket in warm (not hot) water for 10 minutes. This makes the rubber pliable and easier to install. Some technicians place gaskets in direct sunlight for 15 minutes as an alternative warming method.

Start at the top corners where most stress occurs. Work the gasket lip into the retaining channel, using a flathead screwdriver (wrapped in a soft cloth) to push stubborn sections into place. Move slowly—forcing gaskets tears the material.
Continue down both sides, then finish with the bottom section. The gasket should sit flush in the channel with no gaps or twisted sections. Double-check each corner for proper seating.
Close the door and perform the dollar bill test at eight points around the perimeter. The gasket needs 24 hours to fully conform to the door shape, so initial resistance might feel different. Plug the refrigerator back in and monitor temperature stability over the next day.
For a detailed walkthrough of seal inspection and testing, explore our complete guide on fixing refrigerator door seals.
Hinge adjustment requires precision rather than strength. Rushing this repair creates new problems, so allocate 30 minutes for proper execution.
Identify the Adjustment Type
Refrigerators use either hex-bolt hinges (requiring Allen wrenches) or Phillips-head screw hinges. Examine your hinges before starting—using wrong tools strips hardware and complicates repairs. Most modern units (manufactured after 2015) employ 3/16″ hex bolts for better torque control.
Create Reference Marks
Before loosening anything, use painter’s tape to mark the current hinge position on both the door and cabinet. These reference marks prevent overcorrection and help you return to baseline if adjustments fail.
Make Micro-Adjustments
Loosen the top hinge bolts by one-quarter turn—never remove them completely. Shift the door position by 1-2 millimeters, then retighten firmly. Test the closure. Repeat this process until the door sits flush against the gasket around the entire perimeter.
For doors hanging lower on one side, adjust the bottom hinge inward and the top hinge outward. This counterintuitive approach compensates for weight distribution and creates proper alignment.
Verify the Fix
Close the door and check for even gaps all around. The space between door and cabinet should measure consistently (approximately 1/8 inch) at all points. Perform the dollar bill test at the corners where misalignment typically concentrates problems.
Leveling solves doors that swing open spontaneously or refuse to stay closed without force. This foundational issue affects overall appliance performance beyond just door operation.
Gather Leveling Tools
You need a carpenter’s level (24 inches minimum), adjustable wrench, and wooden shims. Digital levels provide precise readings but aren’t necessary for this task. A flashlight helps when working behind the appliance.
Check Current Position
Place the level on top of the refrigerator, parallel to the front edge. The bubble should sit slightly off-center toward the back—indicating the desired backward tilt. If the bubble centers or tilts forward, adjustment becomes necessary.

Adjust Front Leveling Legs
Most refrigerators include adjustable front legs accessible from beneath the front grille. Turn these legs clockwise to raise the front or counterclockwise to lower. Make quarter-turn adjustments, checking level after each change.
The correct position creates a 1/4-inch backward tilt from front to rear. This subtle angle uses gravity to keep doors closed naturally while maintaining proper refrigerant flow through the cooling system.
Stabilize Rear Position
If the rear legs lack adjustment mechanisms, slide wooden shims underneath to achieve the correct angle. Ensure shims sit flat and don’t create wobbling. Composite plastic shims resist moisture better than wood alternatives in kitchen environments.
Test door closure after leveling. Doors should swing closed on their own from a 45-degree open position. If they stop partway, increase the backward tilt slightly.
Understanding these frequent errors prevents wasted time and avoids creating additional damage during repair attempts.
Petroleum-based lubricants destroy rubber gaskets within weeks. The chemicals cause swelling, cracking, and accelerated deterioration. Instead, apply a thin layer of petroleum jelly (like Vaseline) or food-grade silicone lubricant. These products maintain gasket flexibility without chemical damage.
Excessive torque strips threads, cracks plastic components, and warps metal brackets. Tighten bolts until snug, then add one-quarter turn. If you feel significant resistance, stop immediately. Replace stripped hardware before proceeding—continuing with damaged threads creates permanent mounting point failure.
Attempting gasket replacement on a cold door creates installation problems. Warm the door to room temperature (at least 65°F/18°C) before starting. Cold rubber won’t flex properly into mounting channels, creating gaps and poor sealing even with correct installation technique.
Gaskets showing visible cracks or permanent deformation cannot be “fixed” with cleaning or conditioning products. These damaged seals fail again within weeks, wasting your repair time. Replace any gasket with cracks longer than 1/4 inch or sections that won’t spring back after pressing.
Making multiple adjustments simultaneously prevents identifying which change actually solved the problem. Adjust one component, test thoroughly, then move to the next issue if needed. This methodical approach creates replicable results and prevents overcorrection.
After repairs, people reload doors exactly as before—recreating the original problem. Redistribute weight evenly across door shelves. Keep heavy items (gallon milk jugs, glass bottles) in the main compartment where they don’t stress door hinges.
The Problem
Jennifer Martinez from Phoenix, Arizona, noticed her five-year-old Samsung refrigerator door wouldn’t seal properly in June 2024. Her electric bill increased $45 that month, and condensation pooled in the crisper drawers. A service call quote from a local appliance company totaled $350—$180 for the diagnostic visit, $85 for the gasket, and $85 for labor.
DIY Solution Implemented
Instead of hiring professionals, Jennifer followed manufacturer guidelines to diagnose the issue. The dollar bill test revealed seal failure at all four corners. She ordered an OEM gasket directly from Samsung Parts for $62 with two-day shipping.
Following installation instructions from appliance repair forums, she soaked the new gasket in warm water, cleaned the mounting channel thoroughly, and installed it over a 25-minute period. Total cost: $62 for the part plus $0 for tools she already owned.
Measured Results
Within 24 hours, her refrigerator maintained consistent 37°F temperatures (previously fluctuating between 34-42°F). The compressor run cycles returned to normal 35-minute intervals. Her next month’s electric bill decreased $52 compared to the problem month—creating a net savings of $7 beyond the repair cost.
Over the gasket’s expected seven-year lifespan, Jennifer avoided $350 in professional service fees while gaining confidence to handle future appliance issues independently. She documented an 85% cost reduction versus professional repair pricing.
Key Success Factors
The critical elements in Jennifer’s successful repair included proper part identification using the exact model number, following temperature preparation guidelines for the new gasket, and systematic testing after installation. She also redistributed door weight by moving heavy condiment bottles to main shelves, extending hinge lifespan.
The financial consequences of malfunctioning refrigerator doors extend far beyond obvious symptoms. Understanding these costs motivates timely repairs and preventive maintenance.
Quantified Energy Waste
According to the U.S. Department of Energy, refrigerators account for 13-15% of household electricity consumption. A faulty door seal increases this by 20-35% depending on gap severity and climate conditions. For the average American home paying $0.13 per kWh, this translates to $150-275 in annual waste.
The math works out simply: A properly functioning 20-cubic-foot refrigerator uses approximately 400-500 kWh annually. Add a 25% efficiency loss from poor door sealing, and you’re consuming an extra 100-125 kWh—the equivalent of running a window air conditioner for an entire month.
Compressor Degradation Costs
Continuous cycling caused by air infiltration reduces compressor lifespan by 30-40%. Modern compressors cost $300-600 to replace with professional installation reaching $800-1,200 total. Protecting your seal prevents this catastrophic failure and extends appliance life by 3-5 years.
Food Spoilage Economics
The USDA reports that American families waste $1,500 annually on spoiled food. Temperature fluctuations from faulty door seals accelerate this problem. Dairy products, fresh produce, and prepared meals spoil 2-3 times faster in inconsistent environments. Many homeowners blame refrigerator age without recognizing the simple door seal as the culprit.
Beyond direct financial impact, compromised food safety creates health risks. Bacterial growth accelerates dramatically when temperatures exceed 40°F—exactly the environment created by poor door sealing.
For comprehensive information about how appliance inefficiencies affect your utility costs, read our detailed analysis on how faulty appliances lead to high electricity bills.
Regular maintenance prevents 90% of door closure problems while extending appliance lifespan significantly. These simple tasks require minimal time but deliver substantial long-term value.
Monthly Gasket Cleaning
Wipe door gaskets with warm water and mild dish soap every 30 days. Food particles, beverage spills, and kitchen grease accumulate in gasket folds, preventing proper sealing even when rubber remains intact. Use a soft toothbrush to clean grooves thoroughly.
After cleaning, apply a thin coating of petroleum jelly along the gasket surface. This maintains rubber flexibility and prevents cracking from repeated opening and closing cycles.
Quarterly Hinge Inspection
Every three months, check hinge bolts for looseness. Tighten any that turn with hand pressure—this indicates vibration-induced loosening before it creates alignment problems. This five-minute check prevents 80% of hinge-related issues.
Semi-Annual Leveling Verification
Test refrigerator level twice yearly, especially after moving the appliance for cleaning or after minor foundation settling. Proper backward tilt ensures gravity-assisted door closure and optimal refrigerant circulation through the cooling system.
Annual Load Distribution Review
Once yearly, evaluate door loading patterns. Remove heavy items from door bins and relocate them to main shelves. This simple adjustment reduces hinge stress by 40-60% and prevents the gradual misalignment that develops over months.
Professional Inspection Every 5 Years
Even with diligent DIY maintenance, schedule professional appliance inspection every five years. Technicians identify subtle issues invisible to homeowners—early-stage compressor problems, refrigerant leaks, or electrical component degradation. This preventive approach costs $75-100 but prevents $500-1,500 in emergency repairs.
Discover more maintenance strategies in our comprehensive guide on maintaining home appliances for longer lifespan.
A refrigerator door that won’t close properly threatens your food safety, energy efficiency, and appliance longevity. The seven solutions outlined here—from gasket replacement to hinge adjustment—empower you to diagnose and fix issues without expensive service calls. Most repairs take under 30 minutes and cost less than $80 in parts.
Remember these critical takeaways: Test door sealing with the dollar bill method monthly. Address gasket wear immediately when detected. Maintain proper refrigerator leveling with quarterly checks. Distribute weight evenly across door shelves to prevent hinge stress.
These simple actions prevent 90% of door closure problems while extending your appliance’s lifespan by 3-5 years. Start with the gasket inspection today—your energy bill and grocery budget will thank you tomorrow. Regular maintenance transforms a $1,200 replacement crisis into a $60 DIY repair, keeping your kitchen running efficiently for years to come.
How does a refrigerator door gasket differ from a freezer door seal?
Refrigerator gaskets handle moderate temperature differentials (35-70°F), while freezer seals manage extreme ranges (0-70°F) requiring thicker, more durable rubber compounds. Freezer seals use magnetic strips embedded in the gasket for stronger closure force, whereas fridge gaskets rely primarily on compression sealing. Both serve identical purposes but aren’t interchangeable due to temperature tolerance and magnetic strength differences. Always order the specific gasket type designed for your compartment.
What are the best practices for replacing a refrigerator door seal?
Start by ordering OEM parts using your exact model number—generic gaskets rarely fit properly. Warm the new gasket in hot water for 10 minutes before installation to increase flexibility. Clean the mounting channel thoroughly, removing all debris and old adhesive. Install from top corners downward, ensuring the gasket lip seats completely in the retaining channel. Allow 24 hours for the rubber to conform fully before judging performance. Test with the dollar bill method at eight points around the door perimeter.
What mistakes should I avoid when fixing a fridge door that won’t stay closed?
Never use WD-40 or petroleum-based lubricants on gaskets—they cause rapid rubber deterioration. Avoid over-tightening hinge bolts, which strips threads and cracks mounting brackets. Don’t attempt gasket installation on a cold door; rubber needs room temperature to flex properly. Never reuse visibly cracked gaskets hoping cleaning will restore function. Avoid making multiple adjustments simultaneously—test after each change to identify what actually solved the problem. Don’t forget to redistribute door weight after repairs to prevent recurrence.
How long should a properly maintained refrigerator door gasket last?
Manufacturer specifications indicate 5-7 years for residential refrigerator gaskets under normal use conditions. Heavy-use households (families with 5+ members, frequent door opening) might see 3-5 year lifespans. Commercial units require replacement every 2-3 years due to constant cycling. Proper maintenance—monthly cleaning, annual petroleum jelly application, avoiding petroleum-based cleaners—extends gasket life toward the upper end of these ranges. Climate matters too; humid environments accelerate mold growth requiring more frequent replacement.
Can a refrigerator door that’s not closing properly damage the compressor?
Yes, absolutely. Poor door sealing forces the compressor to run continuously, attempting to maintain temperature despite constant warm air infiltration. This creates 2-3 times normal cycling frequency, generating excessive heat and mechanical wear. Compressor lifespan decreases 30-40% under these conditions, potentially causing complete failure 3-5 years earlier than expected. Additionally, constant operation stresses the start relay and overload protector, creating cascading failures throughout the cooling system. A $60 gasket replacement prevents $800-1,200 compressor replacement costs.
What should I check first when my fridge door won’t seal properly?
Begin with the dollar bill test—close a bill in the door and try pulling it out at six different points around the perimeter. Strong resistance indicates good sealing; easy removal signals gasket failure. Next, visually inspect the gasket for cracks, tears, or permanent flattening. Check refrigerator leveling with a carpenter’s level—proper backward tilt is essential. Examine door loading; heavy items create hinge stress and misalignment. If these checks don’t reveal obvious problems, inspect hinge bolts for looseness and test cam latch operation.
How much does professional refrigerator door repair typically cost?
Professional service calls range $150-350 depending on your location and problem complexity. Diagnostic fees run $75-100, gasket replacement labor costs $80-120, and parts add $50-100 for OEM gaskets. Hinge adjustment or replacement increases costs to $200-280. Complex issues involving door replacement reach $400-600. DIY repairs cost $50-80 for gaskets plus basic tools most households already own. The time investment is 20-40 minutes for most repairs, making DIY approaches 75-85% cheaper than professional service.
Does refrigerator age affect how often door problems occur?
Absolutely. Refrigerators under five years old rarely experience door issues unless damaged during moving or subject to extreme use. Units 5-10 years old develop gasket wear and minor hinge loosening requiring periodic adjustment. Appliances 10-15 years old face accelerated gasket deterioration, more frequent hinge problems, and potential warping from long-term stress. Beyond 15 years, door issues compound with overall system degradation—compressor inefficiency, insulation breakdown, and structural fatigue. Annual preventive maintenance extends door component life regardless of appliance age.
Experiencing other refrigerator issues? Check out these helpful guides:
For professional appliance repair services and maintenance plans, visit Appliquix to connect with certified technicians in your area